Christmas Countdown

torsdag 21. mars 2013

Boardgame for Easter

The last years I've been making different boardgames for easter.
Here's this years game, very inspired by a game from the latest issue of Inzpira Magazine.
I chose a bright yellow cardstock to make the box to keep the board and all pieces in.
Then I searched to my easterpapers to find some bright, sparkly papers.

I printed out the rules and glued them inside the lid.

For the board I used an almost springgreenlike cardstock.
I measured, scored, cut and folded it in 4.
I cut 4 big eggs that I put in the corners, they make each players "house".
Then I cut several smaller eggs that makes the fields where the chickens "go". The glittery eggs have special meanings.
I made a little pink box that contains the eggs you win through the game.
This box is placed in the middle of the board.

Here's one of the little chickensto play with. It's made in shrinkfilm.
I coloured three of them, and Hedda coloured her own.
They're all in different colours.
I glued them on some pieces from an old game (I never throw away pieces like this when a boardgame is ruined or has lost too many pieces. They might come handy one day ;))
Now we're just waiting for easter to come, so that we can play the game - it can "not be opened 'till easter"...

There are lots of challengeblogs having easterthemed challenges right now, so I'll try my luck sending the game to these:
Creative Inspiration #206 - Spring Colours
Creatalicious Challenges #46 - Lovely Easter
Simply Create Too #33 - Easter
NSHK #70 - Fargeutfordring "GUL" (Colourchallenge "Yellow")
Sweet Stampin' - Easter
Cutie Pie #40 - Easter
Party Time Tuesday #112 - Color/ Photoinspiration
Scrappin All Over #11 - Påske (Easter)
Papertake Weekely - Easter Treats

***

tirsdag 19. mars 2013

Sanders Eastercard

This is the card Sander made last weekend.
Cardmaking (making anything in general), is so out of his comfortzone that I almost fell of the chair when he came and sat down with us, and said that he wanted to make a card. I think I managed to keep my face rather straight as I asked him what he wanted to use and how he wanted the card to be.
He did not want to colour Tilda or Edwin - "I need some bunnies". Well, I knew I should have a bunnystamp. His problem was that he didn't want the whole row of bunnies. He decided to cut out two of them (Why haven't I thought of that!). Then he coloured them with ProMarkers.
Then he chose dies and cut the hill.
The letters in the greeting are cut with a Cuttlekids-alphabetset.
"How do you fold it to make it stand up", he asked. It was an easelcard he wanted to make :)
When he had finished the card he was quite proud of what he'd made and even asked me if I'd like to post it on my blog. And when I asked him if he would put it into a challenge, he cheered up and said "Yes".
So Sanders Eastercard goes for 
Minidokkenes Marchchallenge "Alt er Lov" (Anything Goes).

***

Heddas Eastercard

During the terrible weather last weekend I had some superterrific creatingtimes together with my children.
Hedda found everything she needed -and wanted - to use, and made this eastercard.
She coloured the Magnoliaimage with ProMarkers. She cut all the papers and diecuts herself, so I'm not quite sure which sets she has used...

I think she must have found inspiration for the inside seeing me making cards...
The backingpaper she's used have printed eastergreetings.

she wanted me to send the card to the norwegian challengeblog for kids
Minidokkene. Their challenge in March is called "Alt er lov" (Anything goes).

***

I know she'd be happy with some comments on her card, so I hope some of you can give her a little minute of your time :)


mandag 18. mars 2013

Easterdecoration in Yellow

 Here's a little easterdecoration I've been working on last weekend. 
Snowy weather and wind made both kids stay indoors, and we really had some cosy times together. 
I'll post what they made later.
(Might even get a third post here today!)

I've had the sizzixdie for a long time, but haven't remembered to use it 'till now. 
I cut 4 similar diecuts in yellow cardstock with it, and glued them together (with a thread between).
I coloured two Magnolia-images in most yellocolours (Distress Reinks), used a Spellbinder-die to cut out the images. Then decorated a little bit (a little cheesecloth, LiquidPearls, some yellow flowers and a few leaves) before I attached them together (same thread between here too).
Then, beneath the sizziz-diecuts I put on a few eggs, some feathers and an organzaribbon.
So now it's finished and ready to be hung up, swirling around, for easter. ;)

I'll send my yellow easterdecoration to these challenges:
Totally Tilda #67 - Easter, Use at least ONE EGG & a Tilda Image
Simply Magnolia - Easter and Eggs
Marvelous Magnolia - Tilda in her Sunday best
Tildas Town #44 - Anything Goes
MDUC - Easter

***

It's a Man Thing! at Ooh La La

 Good morning all crafters out there.
Today we have a new challenge for you over at Ooh La La Challenge Blog.
You don't need to use materials from the OLL-online-shop, but have you visited it and seen all the lovely CDs? New now are also buttons and some absolutely metal embellishments - wonderful!
The theme this fortnight is "It's a Man Thing!".
I really hope that many, many of you will join us on this one!
I've chosen a rather manly image and coordinating papers (for both insides and outsides). The hook is a real one, honestly stolen from my sons fishingbox ;)
I'm not sure the knots will be approved by a real fisher - but, I've done my best (though I admit I'm better at bows...)

Here's the back of the card:
With papers like these you don't need much decorations....

Now, here are the details:
Find Inspiration to make your own manly project
Join the challenge
Have FUN

fredag 8. mars 2013

Lace, Pearls and Metal

Hi again :)
Something completely different from me today!
I have coloured one of my Kenny K-images in blue and brown (DistressMarkers and -refills), then I tried to find matching papers and stash for it. Usually when I make cards I, sort of, have in mind which papers to use, as I colour the image. Colouring this one I didn't think of papers at all. I just had a great time colouring!
Then, having made it difficult for myself, I figured I'd just continue that way, so I decided to try that metaltape-embossingthing that "everybody" seem to be doing now - FUN!
 Around the image I put on halfpearls in different shades of blue, brads (with gemstones in), some TH-gears, a button and Fastenaters in two of the corners (I had totally forgotten I had those...)
The paperedges (Papirdesign and Prima) are inked with DistressInk BlackSoot.
I tied a black satinribbon to the embossed heart and attached a keycharm to it.
To the tag (tucked under the image) I tied a black laceribbon.
The border is made with Martha Stewarts Doily Lace Edge Punch.


Here's the insides. Greetingpanels punched with Martha Stewarts Cherish PATP-set.
The stamped greeting is from Norsk Stempelblad AS.
The back of it, waiting for my "Made by..."-stamp :

Working on this card my Spellbinder broke, third time since November! 
I have waited for it to happen again. 
We managed to fix it - with tape(!) this time, so I could use it some more. 
Then, Wednesday I bought a new cutter, a Cuttlebug, and I already LOVE it!!!

Now; I'll send the card to these challengeblogs (hope they'll like it):
Kenny K's Krafty Krew #133 - Lace & Pearls
NMWC #7 - Anything Goes
A Gem of a Challenge #69 - Button It
Totally Papercrafts #157 - Punch It
Sweet Stampin' - It's All Embossing
Crafty Boots - Old, New, Borrowed OR Blue (think I managed all except the Borrowed part...)
Crazy Amigo - Women
Dutch Dare Card Challenges #207 - Girls Rule

Wish you all a wonderful weekend


Unfortunately ;) it started snowing quite heavily here now - not weather for housework I guess...
Better stay here, in my scraproom ;)


tirsdag 5. mars 2013

Pink Confirmationcard in TESA-folding

This was one of my weekendprojects. 
Though spring and confirmationtime seems far away right now, I think it might be about time to start thinking of it - at least for a slow cardmaker like me...
In the weekend I have tried out different foldingtechniques. 
Many of them found in the norwegian magazine Ett Trykk
This one they called TESA-folding, you can find the tutorial HERE.
I have used the lovely, new papers from Papirdesign (note to myself: buy more of those papers!)


When you pull out the imagecard, the rest of the card, almost magically, opens up, and you have a perfect place for a sentiment :)

The two hearts (dies from Nellie's Multiframes) are put together with an eyelet so the heart on top can be turned around to make the sentiment on the bottomheart become visible.

On the back the folding makes a pocket, where there's place for a tag:


Material list:
Size: 6"x6"
Ink: DistressInk WalnutStain, Versafine OnyxBlack
Stamps: Texts: Kort&Godt, Papirdesign. Image: Whiff of Joy (correct me if I'm wrong)
DPs: Papirdesign
 Cardstock: Bazzill Kraft and Pink
Techniques: Cardfolding after tutorial, Colouring: DistressMarkers and -refills.
Other: Punch: Martha Stewart Eyelet Lace PATP-set, Dies: Nellie's Multiframes - Hearts and imagepanel, Magnolia DooHickey - Tag, My Favourite Things - Swirl, Cheery Lynn - Butterflies
Halfpearls, LiquidPearls Opal, Glitterstickles Diamond, Flowers, Leaves, Ribbon, Twine, Eyelets.

I'll enter the card into the following challenges:
By the Cute and Girly - Favourite Things
Crafts and Me #122 - Dies or Punches
Divas by Design - Anything Goes
Simon Says Stamp - Anything Goes
Card and Scrap #50 - Brug Pastelfarver!
Kort o Mania #81 - Bretteteknikk
No Matter Which Challenges #7 - Anything Goes
Totally Gorjuss #173 - Anything Goes With Pink!
Addicted To Stamps #51 - Frühling
Sentimental Sundays #144 - Fairies With Wings
Cupcake #232 - Sparkle
Joanna Sheen - Layer It Up!
The Corrosive Challenge Blog #169 - All That Glitters
Through The Craft Room Door - Anything Goes
Party Time Tuesday's #110 - Die Cuts

***

mandag 4. mars 2013

Pretty In Pink at Fashionista Challenge

Good morning everyone
Today we have a new challenge for you over at Fashionista Challenge.
First; a huge congratulation to the chosen Top 5!
And then an even bigger congrats to the voted winner :)
Exciting times, isn't it?

This months theme is "Pretty In Pink"
Easy, peasy - right?
Our sponsor for this challenge is Saturated Canary, and I got this beautiful digi called "Reading Beauty" to play with.
Oh, did I have a good time making this one - playing with all my pink stuff was so FUN!
The image is coloured with DistressInks (markers and refills).
I put on lots of halfpearls and gems, and laces and ribbons. 
The flowers have got a coat of glitter on :)
All paperedges are inked with DistressInk WalnutStain.
The DPs have been around for years, so, unfortunately, I really can't remember where they are from...

The inside will look something like this...
...but I must admit I haven't finished it completely
-I dont like to attach the greetingpanel before I've found the perfect greeting/ sentiment for it, so this it what the insides really look like right now:
I hope this will inspire you to find your pink stash an come join our Pretty In Pink-challenge.
If not: Click over to Fashionista Challenge to see the fabulous creations the rest of the girls have made

***


Four Legged Friends at OLLCB

 Hello again
We're kicking off a new challenge over at  Ooh La La Challenge Blog today.
The theme here is "Four Legged Friends".
I feel so lucky to get these lovely images and papers to create something out of!
For this card I chose image and papers from the Yesterday's Memories CD. 
You can find the CD - and many more - in OLL's online SHOP.

It's the first time I try out a twisted easelcard - fun!
I used brown cardstock as base for the card. I think it works quite nice with the colours on the DPs and Image.
The textstamp is a birthdaygreeting from Staz.
The topborder is punched with Martha Stewarts Floral Wine Deep Edge Punch.
Then I put on some (quite many, I see now) black gemstones, both for decor and to make the card stand up opened...
Visit OLLCB to see what the other girls have made - fabulous creations, I can tell ;)
Oh, and you have two weeks to join us with your Four Legged Friends - plenty of time :)

***


fredag 1. mars 2013

Tilda with Puppy Birthdaycard

Good morningon a windy, but fine, Friday morning.
I don't have to go to work today, but still have some tough jobs at home before I can call it weekend...
Just to give the day a little better start I decided to make a blogpost first, before I star on the chores ;)

The image on this card is the stamp that came with a Magnolia Magazine some time ago.
Isn't it just adorable!
I've coloured it with DistressMarkers and -reinks.
And since I coloured the puppys bow red I found I could put on a (big) red bow on one of the tags as well...
The tags are made with Magnolia DooHickeys.
I think the pennant border is made with a Cheery Lynn-die (please correct me if I'm wrong).
Over the pennants I stamped with Kaisercrafts "Postmarks" clearstamps.
At the leftside of the pennants I put on a little lacebow with a charm attached.
DPs on this card is from Bildmålarna. I've used Kraftcardstock for the card, and also for all the die-cuts.
Martha Stewarts Vintage Floral PATP-set has become an absolute favourite, and I've used it on the three paperstrips I put on the leftside of the card.
As always; all paperedges are inked, and as most times; with DistressInk Walnut Stain :)

The card is made as an Easelcard. Same DPs and Kraftcardstock inside as on the outside:

The stamped greeting inside is from Staz:

I hope these challengeblogs will like the card:
Marvelous Magnolia #16 - Punch A Bunch
Divas By Design - Anything Goes
Crafts And Me #122 - Dies or Punches
Through The Craft Room Door - Anything Goes
Party Time Tuesdays #109 - Anything Goes
Addicted to Stamps #50 - Use Kraft
A Gem Of A Challenge #68 - Add A Bow

***

onsdag 27. februar 2013

Tilda with Pencils Birthdaycard

Tonight I have a more girly birthdaycard to show.
Now I'm back with the pink and pastels, laces and pearls - even a feather...
Aren't the swirls just supercute??? I made them with a die from My Favourite Things.
The heart is made with a die from Nellie's and the tag is (of course) a Magnolia DooHickey-die. I also used some dies from Spellbinders.
All DPs are Magnolia's. Between the paperlayers I've tucked in some cheesecloth and different laces.
On the heart I stamped a greeting with a textstamp that came with a magazine. Then I glued down a bow tied with a piece of lace to the heart and attached a heartcharm to it. I made the pin myself (:D)
The paperrose have got a touch of glitter, then glued down to hide the feather- and pearlstringends.
The paperedges are inked with DistressInk (Gathered Twigs).
I pierced tiny holes around the image and drew faux stitches between them.

Inside the card I used the same backingpaper as on the front (and back), and punched out the greetingpanels with  Martha Stewart Vintage Floral PATP-set.
I'll enter the card into these challenges:
Simply Magnolia - Anything Goes
lovely hÄnglar or Sweet Magnolia #63 - With Love
Magnolia Mania #64 - Pearls & Lace
Joanna Sheen - Layer It Up
Cutie Pie #38 - Pretty Pastels
Crazy 4 Challenges - Texture
Scrappy Frogs - Use Red Or Pink
Simon Says Stamp - Anything Goes
Papercraft Star #134 - Happy Birthday
Divas By Design - Anything Goes

***


mandag 25. februar 2013

Birthdaycard in Blue

 Hi again
Tonight I'll show you a birthdaycard I made the other day.
The image, a Kenny K-digi, is coloured with Distress Markers and -refills.
Since the image mainly is coloured in bluetones I chose blue Dps, from MajaDesign, to go with it.
Paperedges are inked (DistressInk WalnutStain).
I used Martha Stewarts Vintage Floral PATP-set on one of the DPs.
 Underneath the image I tucked in a "tag" I made of a piece of heavy plastic (originally a tag from a jacket or something). I tied different twineribbons to the tag.
I also put on a couple of laces and a bow. The bow has a charm attached (a purse with a mobilephone).


The inside of the card. One of the same DPs as on the front, and the same PATP-set used for the greetingpanels. The stamped greeting is from Norsk Stempelblad.

On the back I used much of the same "sketch" as on the front, and the same DPs and punches, again.
I'll enter the Blue Birthdaycard into these challenges:
Kenny K's Krafty Krew - Layer it Up
One Stitch At A Time #152 - Use a Digi
Gingerloft - Ribbons and Bows
Inky Chicks #4 - Mothers Day or Birthday (I chose Birthday)
Crafts And Me #121 - Charmed, I'm Sure (Add A Charm)
Creative Card Crew #30 - Birthday
Dream Valley #51 - Ribbon and Bling

***

mandag 18. februar 2013

For a Boy

Hi again!
Two blogposts in a day + I've baked an icecreamcake, an Oreocake and the Pavlova is almost finished. The house is fairly tidy and rather clean. It's Heddas birthday, and somebody might come to visit her while I'm at work tonight, so better have things sorted and planned - just in case...

I just want to show a little thing I made this weekend.
I have started making this years confirmationcards! First out is a card for a boy.
The reason why I'm so early with a confirmationcard this year, is that I found these supercool DPs from Papirdesign. I just had to have them, and try them immidiately! Aren't they just perfect for a teenageboy???
I didn't see that the charms shows the backside in this picture before I put it in the post - but, luckily, the front of them shows in a picture further down.
I found this image at sureya.deviantart.com. Sureya has many, many absolutely wonderful images here.
This image is coloured with Pro- and Flexmarkers.
Only embelli'es here are the charms and a brown ribbon. I find it difficult to put on lots of decorative elements on boys cards...

I folded the card to make a giftcardpocket inside.
Same DPs as outside. All stamps are from Kort&Godt.
All paperedges are inked with DistressInk WalnutStain (as are they on the outside).

Next picture show front- and backside of the card, with the clockcharm visible...
I'll enter the card into these challenges:
Totally Gorjuss #171 - For The Men
My Time To Craft! #209 - Men Only!
Kort o Mania #80 - GuttaBoyzz!!
Charisma Cardz #6 - Anything Goes
Deep Ocean #45 - Letter "B" (Boy, Blue...)
Tuesday Throwdown #134 - Anything Goes
Fab 'n' Funky #158 - What's Inside

***

OLLCB DT #124 Sparkle & Shine


 Good morning everyone.
Today we have a brand new challenge for you over at Ooh La La.
For the next fortnight the theme is "Sparkle and Shine", so come join us with all your sparkly creations.

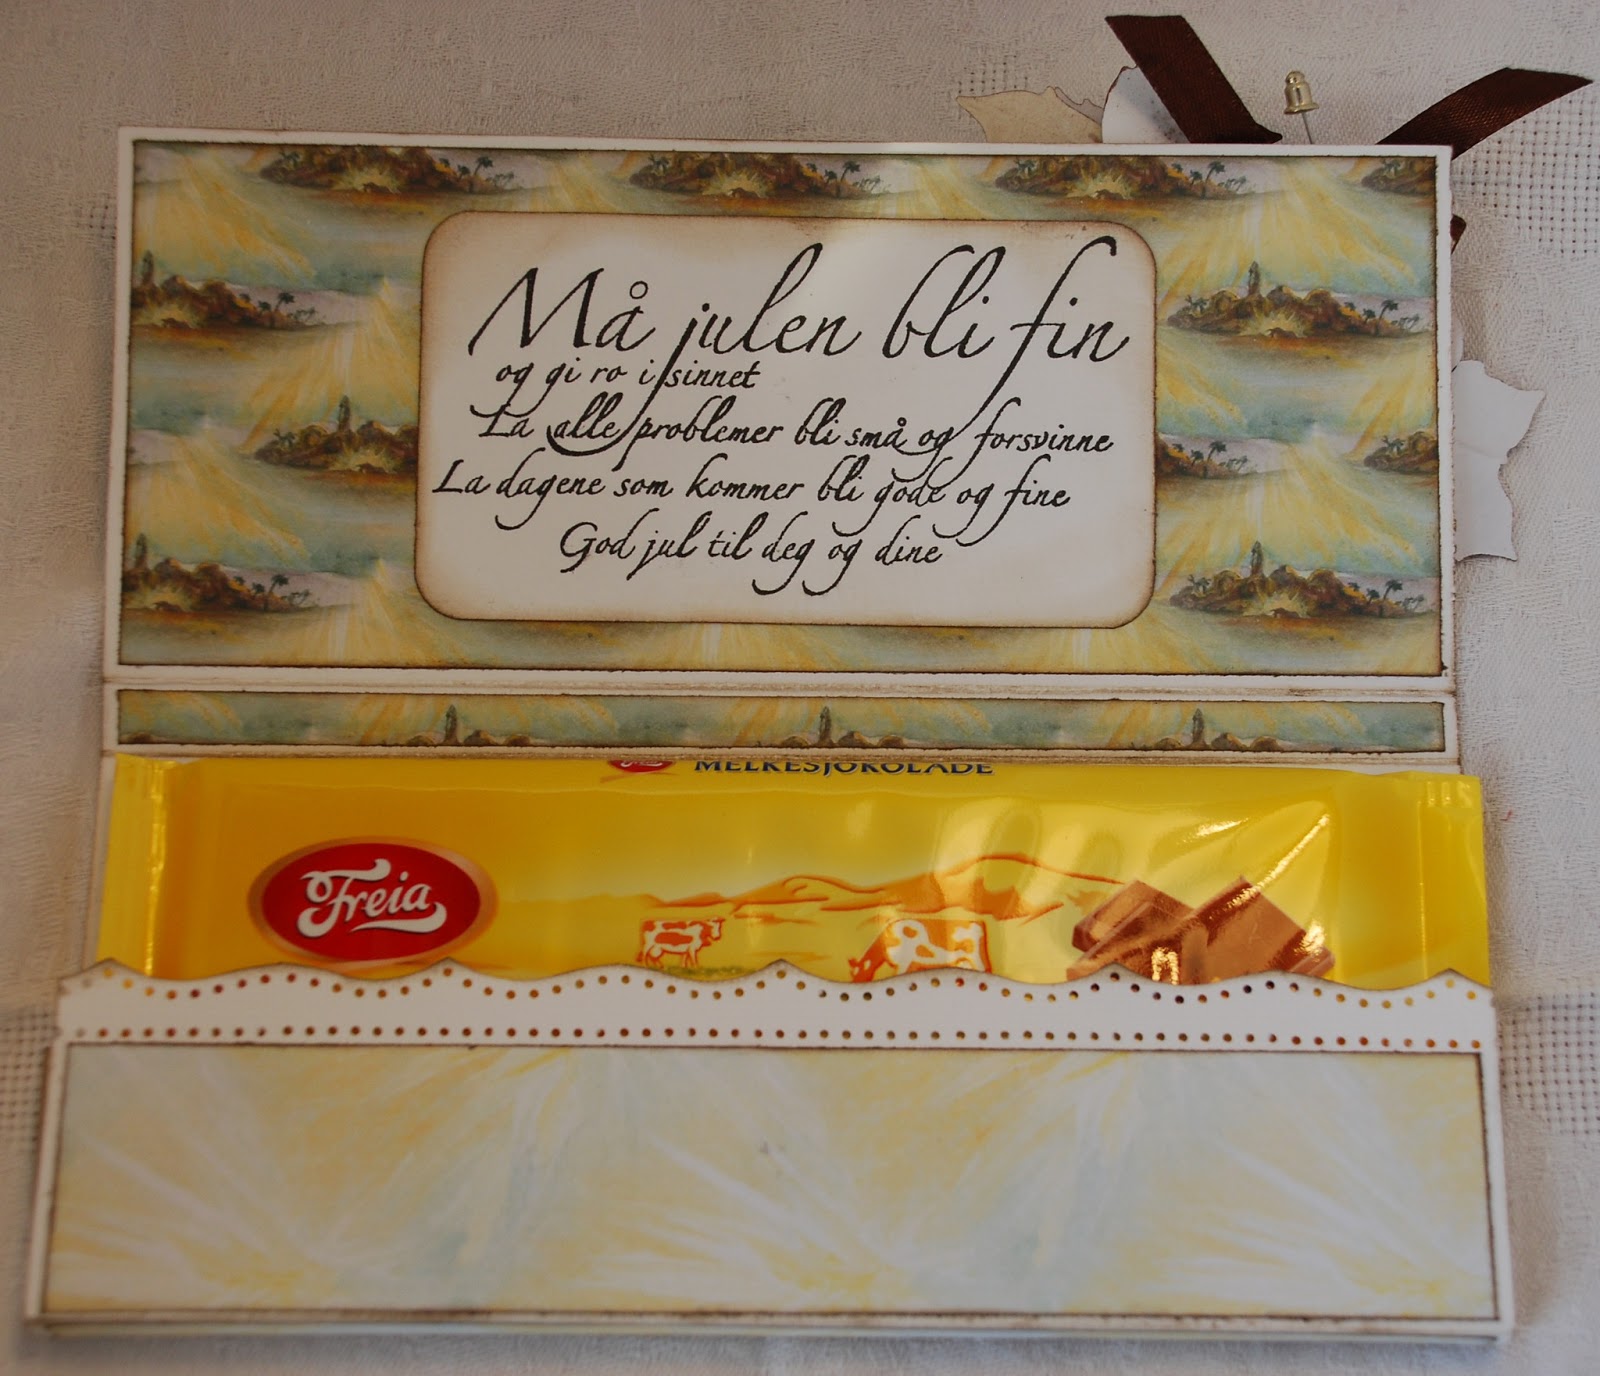
I have made a Chocolate-Christmas-Card for this challenge.
The image is printed on canvas, then I painted on lots of GlimmerGlam (Chandelier) and GlimmerGlaze (Champagne). I sprayed lots and lots of Glimmermist (CoffeeShop) on the poinsettias before I attached them to the card.
In fact, the card is A LOT sparklier than the picture shows :)
  
Inside the card I used one of the coordinated DPs - one of the things I love about OLLs sets; there's always coordinated papers that fits perfect to the images, all I have to do is decide wich to use...
New for this challenge is that we'll need some Guest Designers.
Each GDT spot will be for two months which is usually about four challenges.
So if you would like a spot as a Guest Designer then please just add GDT after your name, when you enter your Sparkle & Shine-Project :)

Now, hop on over to OLLCB, to see what the rest of the DT-girls have made, get inspired and join in :)


lørdag 16. februar 2013

Happy Birthday

 Today I have a birthdaycard to show you.
I think this is the first Kenny K-image I've coloured with DistressInks. I've always thought that these images should be coloured with ProMarkers (or markers, in general), but I decided to give the inks a try, and I think it worked quite well...
DPs are MajaDesigns. 
The swirl is made using a MarianneDesign-die.
Underneath the image I put a tag (Made with a Magnolia DooHickey-die), I tied a ribbon with the text "Gratulerer" (Congratulations) to the tag.
Of course the edges are distressed and inked (some day I will make a card without tearing and ripping the papers - I think...)
All layers are sewn together.
I also put on some halfpearls and three pink brads.
Around the image I put on lots of tiny little pearls with Opalcoloured Liquid Pearls.

I used the same sketch (Sketchy Colors) making the inside, I just rotated it and left out one of the layers:
The Challenges I'll send the Birthdaycard to:
Sketchy Colors # 150 - Sketch
Crafty Catz #170 - Bingo (Pearls/ Dies or Punches/ Ribbon)
ABC Challenge - H for Happy Birthday
Charisma Cardz #6 - Anything Goes


mandag 4. februar 2013

Fashionista Challenge #12

Time for another Fashionista Challenge!
This months theme is "Valentine".
Our sponsor in February is the wonderful Elisabeth Bell.
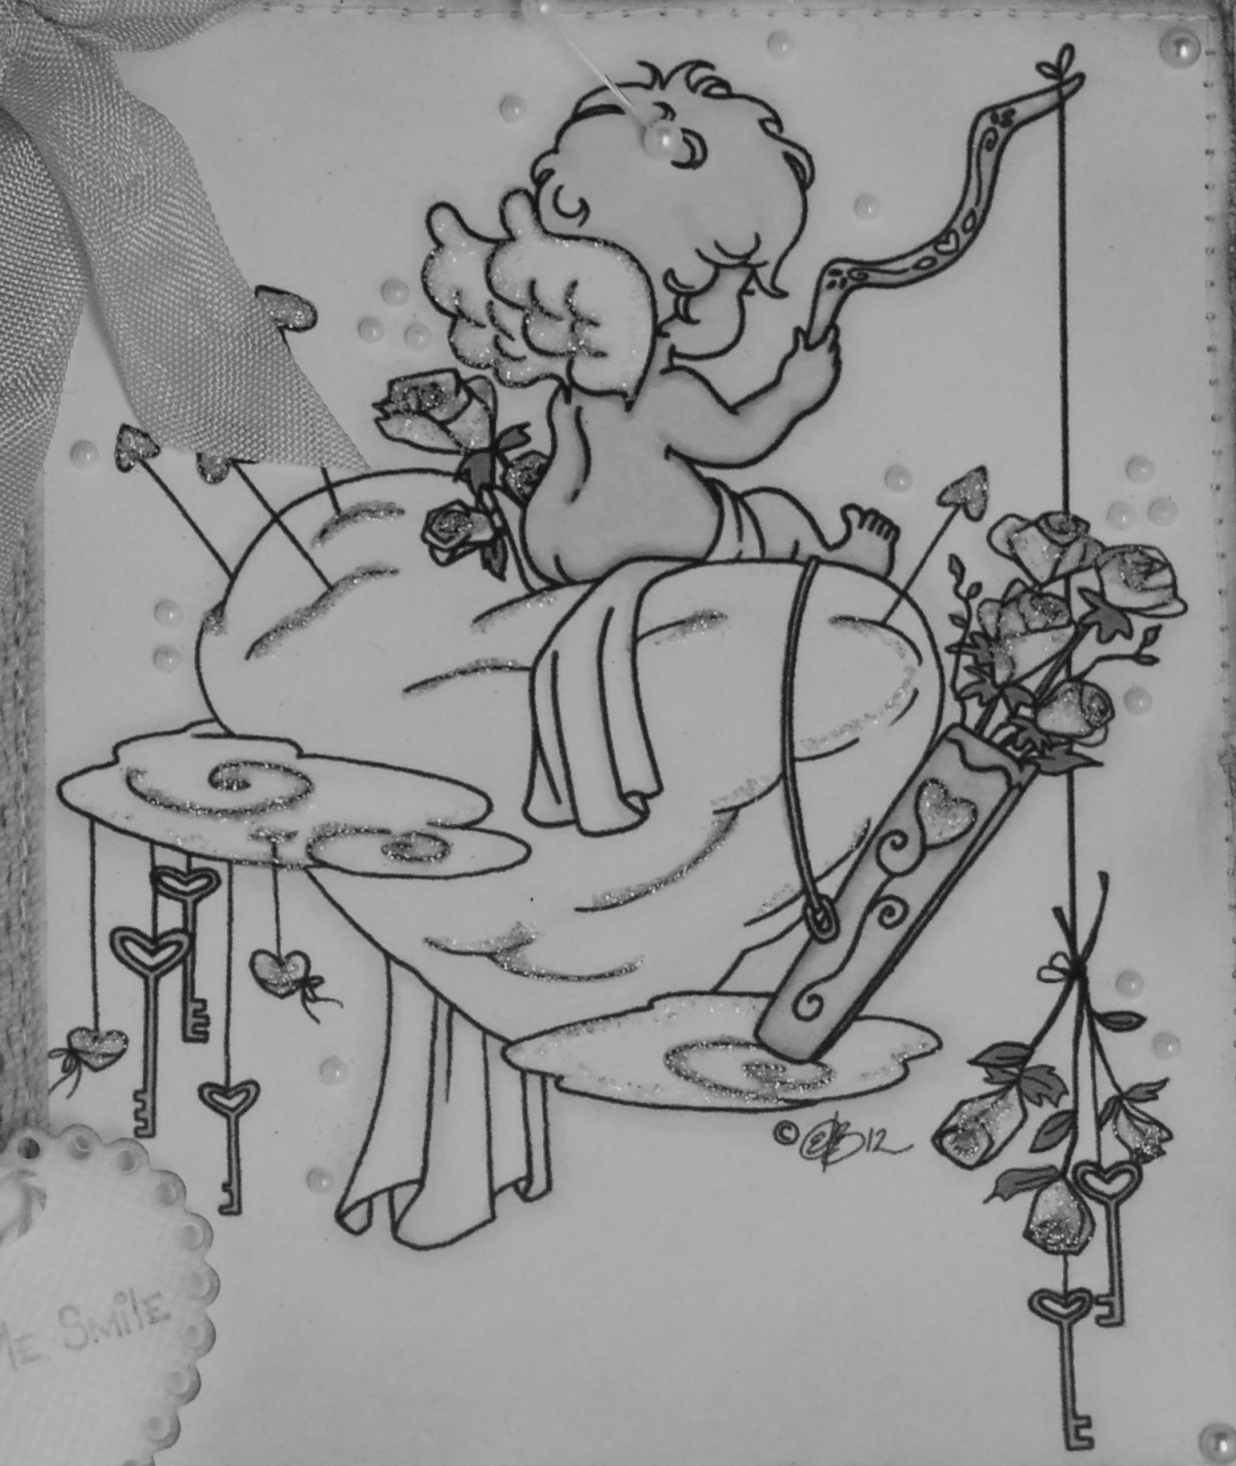
I have used the image "On Cupids Cloud", that you can find in the digital collection .
Isn't it suuupercuuute!
Being given such a beautiful image to work with, I felt I really had to give my best both in colouring and decorating - so quite many images went in the bin before I finished this one rather satisfied (still see some spots I could have done better, but don't want to make you aware of what - lol)
I've coloured with Pro-, FlexMarkers and Glitterstickles (Yes, I call it "coloured" with the glitterstickles, the way I've used it on this image)
DPs are from 3ndyPapir - I've Distressed, Inked and sewn them together.
Dies used are from Magnolia, MarianneDesign, Nellie's and Spellbinders.
Decorations are Cheesecloth, Laces, Twine, Seembindingribbon, Charm, Flowers, Pearlstrings and Halfbeads (White and Pink)

Enough about my card.
 If you hop over to the Fashionista Challenge you can see the lovely Valentinecreations that the rest of the girls have made
Be inspired
And Join us
:)


OLLCB #123 Love Story

Today we're kicking off a new challenge over at Ooh La La.
I hope many of you will join us for this one.
The next fortnight the theme is "Love Story

For my weddingcard I've used image and papers from the new Yesterday's Memories CD
I wanted to focus on the image on this card, so I didn't want to put on too much embellishments; Just a ribbon with a weddingtext, a flower, a charm, a swirl"thing" and some flowerstamens.
The paperedges are inked with DistressInk BlackSoot.

Inside the card I made two pockets with tags. On one of the tags I stamped a romantic poem (Papirdesign).

On the backside I stamped and embossed an image showing two weddingrings (Papirdesign)

Now - hop over to Ooh La La Challenge Blog.
See what the rest of the DT have made, and see last weeks winners
- A huge congrats to Cheryl, Linda and Marion!


This picture is a special for my fellow DT Wendi(, who wrote such a lovely comment on an earlier post):
The picture is taken earlier this winter (november or december), outside my house (left corner).
Too bad neither we nor our neighbours had turned out the lights...