Christmas Countdown

onsdag 27. februar 2013

Tilda with Pencils Birthdaycard

Tonight I have a more girly birthdaycard to show.
Now I'm back with the pink and pastels, laces and pearls - even a feather...
Aren't the swirls just supercute??? I made them with a die from My Favourite Things.
The heart is made with a die from Nellie's and the tag is (of course) a Magnolia DooHickey-die. I also used some dies from Spellbinders.
All DPs are Magnolia's. Between the paperlayers I've tucked in some cheesecloth and different laces.
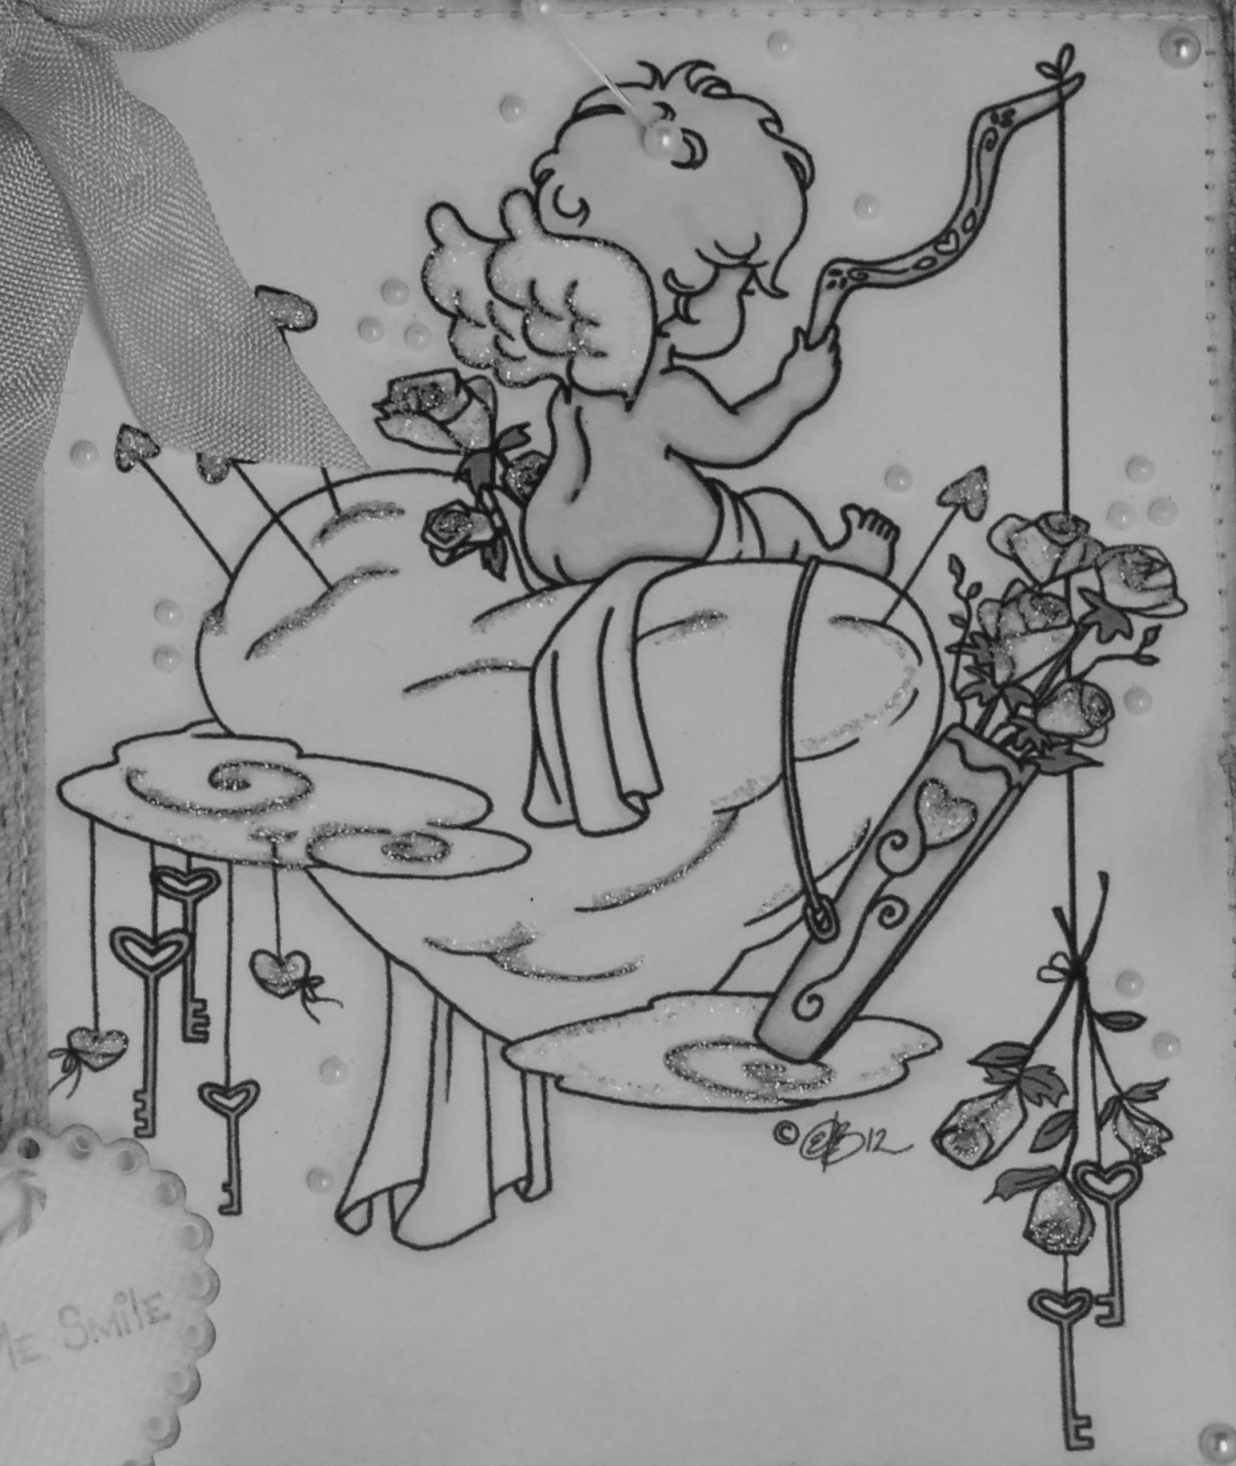
On the heart I stamped a greeting with a textstamp that came with a magazine. Then I glued down a bow tied with a piece of lace to the heart and attached a heartcharm to it. I made the pin myself (:D)
The paperrose have got a touch of glitter, then glued down to hide the feather- and pearlstringends.
The paperedges are inked with DistressInk (Gathered Twigs).
I pierced tiny holes around the image and drew faux stitches between them.

Inside the card I used the same backingpaper as on the front (and back), and punched out the greetingpanels with  Martha Stewart Vintage Floral PATP-set.
I'll enter the card into these challenges:
Simply Magnolia - Anything Goes
lovely hÄnglar or Sweet Magnolia #63 - With Love
Magnolia Mania #64 - Pearls & Lace
Joanna Sheen - Layer It Up
Cutie Pie #38 - Pretty Pastels
Crazy 4 Challenges - Texture
Scrappy Frogs - Use Red Or Pink
Simon Says Stamp - Anything Goes
Papercraft Star #134 - Happy Birthday
Divas By Design - Anything Goes

***


mandag 25. februar 2013

Birthdaycard in Blue

 Hi again
Tonight I'll show you a birthdaycard I made the other day.
The image, a Kenny K-digi, is coloured with Distress Markers and -refills.
Since the image mainly is coloured in bluetones I chose blue Dps, from MajaDesign, to go with it.
Paperedges are inked (DistressInk WalnutStain).
I used Martha Stewarts Vintage Floral PATP-set on one of the DPs.
 Underneath the image I tucked in a "tag" I made of a piece of heavy plastic (originally a tag from a jacket or something). I tied different twineribbons to the tag.
I also put on a couple of laces and a bow. The bow has a charm attached (a purse with a mobilephone).


The inside of the card. One of the same DPs as on the front, and the same PATP-set used for the greetingpanels. The stamped greeting is from Norsk Stempelblad.

On the back I used much of the same "sketch" as on the front, and the same DPs and punches, again.
I'll enter the Blue Birthdaycard into these challenges:
Kenny K's Krafty Krew - Layer it Up
One Stitch At A Time #152 - Use a Digi
Gingerloft - Ribbons and Bows
Inky Chicks #4 - Mothers Day or Birthday (I chose Birthday)
Crafts And Me #121 - Charmed, I'm Sure (Add A Charm)
Creative Card Crew #30 - Birthday
Dream Valley #51 - Ribbon and Bling

***

mandag 18. februar 2013

For a Boy

Hi again!
Two blogposts in a day + I've baked an icecreamcake, an Oreocake and the Pavlova is almost finished. The house is fairly tidy and rather clean. It's Heddas birthday, and somebody might come to visit her while I'm at work tonight, so better have things sorted and planned - just in case...

I just want to show a little thing I made this weekend.
I have started making this years confirmationcards! First out is a card for a boy.
The reason why I'm so early with a confirmationcard this year, is that I found these supercool DPs from Papirdesign. I just had to have them, and try them immidiately! Aren't they just perfect for a teenageboy???
I didn't see that the charms shows the backside in this picture before I put it in the post - but, luckily, the front of them shows in a picture further down.
I found this image at sureya.deviantart.com. Sureya has many, many absolutely wonderful images here.
This image is coloured with Pro- and Flexmarkers.
Only embelli'es here are the charms and a brown ribbon. I find it difficult to put on lots of decorative elements on boys cards...

I folded the card to make a giftcardpocket inside.
Same DPs as outside. All stamps are from Kort&Godt.
All paperedges are inked with DistressInk WalnutStain (as are they on the outside).

Next picture show front- and backside of the card, with the clockcharm visible...
I'll enter the card into these challenges:
Totally Gorjuss #171 - For The Men
My Time To Craft! #209 - Men Only!
Kort o Mania #80 - GuttaBoyzz!!
Charisma Cardz #6 - Anything Goes
Deep Ocean #45 - Letter "B" (Boy, Blue...)
Tuesday Throwdown #134 - Anything Goes
Fab 'n' Funky #158 - What's Inside

***

OLLCB DT #124 Sparkle & Shine


 Good morning everyone.
Today we have a brand new challenge for you over at Ooh La La.
For the next fortnight the theme is "Sparkle and Shine", so come join us with all your sparkly creations.

I have made a Chocolate-Christmas-Card for this challenge.
The image is printed on canvas, then I painted on lots of GlimmerGlam (Chandelier) and GlimmerGlaze (Champagne). I sprayed lots and lots of Glimmermist (CoffeeShop) on the poinsettias before I attached them to the card.
In fact, the card is A LOT sparklier than the picture shows :)
  
Inside the card I used one of the coordinated DPs - one of the things I love about OLLs sets; there's always coordinated papers that fits perfect to the images, all I have to do is decide wich to use...
New for this challenge is that we'll need some Guest Designers.
Each GDT spot will be for two months which is usually about four challenges.
So if you would like a spot as a Guest Designer then please just add GDT after your name, when you enter your Sparkle & Shine-Project :)

Now, hop on over to OLLCB, to see what the rest of the DT-girls have made, get inspired and join in :)


lørdag 16. februar 2013

Happy Birthday

 Today I have a birthdaycard to show you.
I think this is the first Kenny K-image I've coloured with DistressInks. I've always thought that these images should be coloured with ProMarkers (or markers, in general), but I decided to give the inks a try, and I think it worked quite well...
DPs are MajaDesigns. 
The swirl is made using a MarianneDesign-die.
Underneath the image I put a tag (Made with a Magnolia DooHickey-die), I tied a ribbon with the text "Gratulerer" (Congratulations) to the tag.
Of course the edges are distressed and inked (some day I will make a card without tearing and ripping the papers - I think...)
All layers are sewn together.
I also put on some halfpearls and three pink brads.
Around the image I put on lots of tiny little pearls with Opalcoloured Liquid Pearls.

I used the same sketch (Sketchy Colors) making the inside, I just rotated it and left out one of the layers:
The Challenges I'll send the Birthdaycard to:
Sketchy Colors # 150 - Sketch
Crafty Catz #170 - Bingo (Pearls/ Dies or Punches/ Ribbon)
ABC Challenge - H for Happy Birthday
Charisma Cardz #6 - Anything Goes


mandag 4. februar 2013

Fashionista Challenge #12

Time for another Fashionista Challenge!
This months theme is "Valentine".
Our sponsor in February is the wonderful Elisabeth Bell.
I have used the image "On Cupids Cloud", that you can find in the digital collection .
Isn't it suuupercuuute!
Being given such a beautiful image to work with, I felt I really had to give my best both in colouring and decorating - so quite many images went in the bin before I finished this one rather satisfied (still see some spots I could have done better, but don't want to make you aware of what - lol)
I've coloured with Pro-, FlexMarkers and Glitterstickles (Yes, I call it "coloured" with the glitterstickles, the way I've used it on this image)
DPs are from 3ndyPapir - I've Distressed, Inked and sewn them together.
Dies used are from Magnolia, MarianneDesign, Nellie's and Spellbinders.
Decorations are Cheesecloth, Laces, Twine, Seembindingribbon, Charm, Flowers, Pearlstrings and Halfbeads (White and Pink)

Enough about my card.
 If you hop over to the Fashionista Challenge you can see the lovely Valentinecreations that the rest of the girls have made
Be inspired
And Join us
:)


OLLCB #123 Love Story

Today we're kicking off a new challenge over at Ooh La La.
I hope many of you will join us for this one.
The next fortnight the theme is "Love Story

For my weddingcard I've used image and papers from the new Yesterday's Memories CD
I wanted to focus on the image on this card, so I didn't want to put on too much embellishments; Just a ribbon with a weddingtext, a flower, a charm, a swirl"thing" and some flowerstamens.
The paperedges are inked with DistressInk BlackSoot.

Inside the card I made two pockets with tags. On one of the tags I stamped a romantic poem (Papirdesign).

On the backside I stamped and embossed an image showing two weddingrings (Papirdesign)

Now - hop over to Ooh La La Challenge Blog.
See what the rest of the DT have made, and see last weeks winners
- A huge congrats to Cheryl, Linda and Marion!


This picture is a special for my fellow DT Wendi(, who wrote such a lovely comment on an earlier post):
The picture is taken earlier this winter (november or december), outside my house (left corner).
Too bad neither we nor our neighbours had turned out the lights...


fredag 1. februar 2013

Bragging

 Tonight I want to show you the projects that were shown at Create and Craft TV last Sunday.
All paperproducts (DPs and images) are from Ooh La La Creations brand new CD Yesterdays Memories.
You can find the CD in the Online Craft Shop
If you'd just like to try some OLL designs you can go to the sidebar in the shop, as you can find some fantastic freebies there.

First a chocolategiftfolder.
Isn't this image just lovely, and see how perfect coordinated the DPs and the image are! 
I loved to make this one, and finally I found use of the beaded ribbon that I bought a looong time ago...
 Here's the back of it

 Next picture shows a Tagcard. 
Clean and Simple decorated, with a lace, a ribbon, some feathers and a pin.
The image is built up in 7 layers. Building up an image like this makes it rather spectacular to view, depending on which angle you look at it from.

My third project was this christmascard.
This card is also built up in several layers (quite fiddly cutting all those tiny pieces), then attached with 3D-foampads. Look at the bacgroundpaper on this card - Isn't it just WONDERFUL!
(I'm sure this will be one of my favourite christmaspapers this year) 

Finally (I saved the best to the last), I have to show you a picture of Røst
This is my place!
An almost totally flat (11m at the highest), little island far out in the ocean.
This picture were taken January 29th from a plane coming in  from the north side of the island
(I was NOT the photographer, but the picture is shared so many times on Facebook, that I think it is Ok if I use it here as well...)